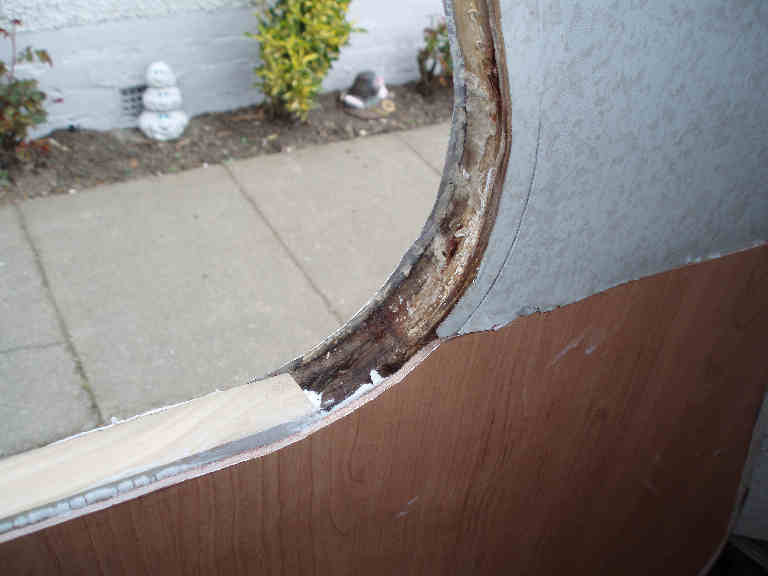
After replacing the rotted wood in the side window frame I saw that there was a problem in the corner of the frame. It looks like a factory fault as the wood doesn't align with the aluminium. It had a packer in it when I removed it, so I think they were just making up for a bad job. It looks like a job for quick setting polyfilla...cue fanfare! Maybe it isn't a job for quick setting polyfilla, but thats what I am going to use anyway.
BEFORE
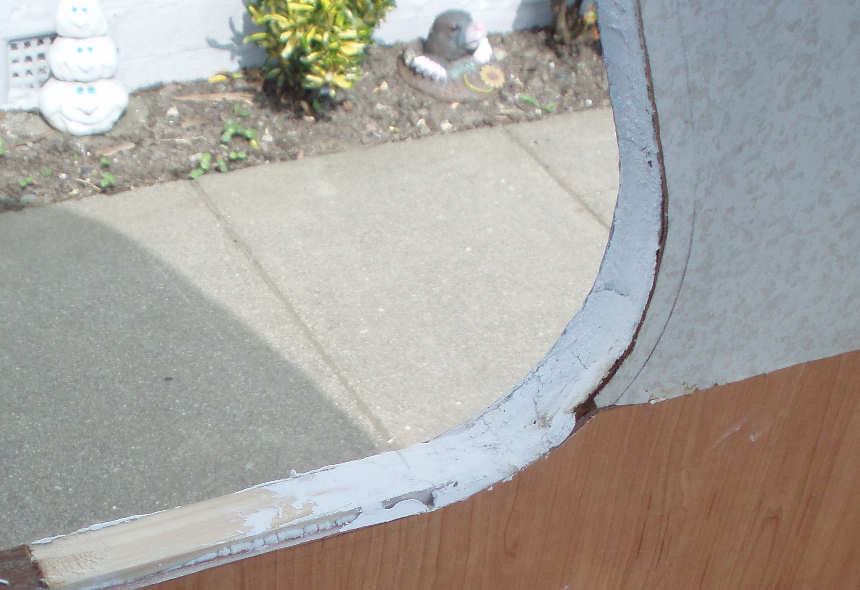
AFTER
Now I can set the window seal back in and get the window secured in place. Ok, I don't have "mastic on a roll" that everyone else uses. I have tubes of non-drying mastic as recommended by my local caravan dealer (60 mile round trip!) Maybe he recommended it because he didn't have "mastic on a roll", I don't know. But I gots what I gots so I have to get on with it.
Applying the mastic to the seal doesn't look like a good idea, so I decide to apply the mastic to the window frame. By the way, this job got really messy really quickly so there are no photos. On the outside edge of the frame I ran a bead of mastic. To give you an idea of the amount, it would be about twice the amount you would squeeze onto your toothbrush if it was toothpaste. Which it isn't. So dont go trying to clean your gnashers with quick setting mastic sealant! You have been warned!
This would have been enough, but then I decided to run a very thin line of it around the inner edge of the frame. Only when I started to put the seal in did I realise how stupid that was. It is difficult to describe, but what I was doing was presenting the outer edge of the seal to the frame and then plopping the inner edge over into place. That would have been easy without the stupid line of mastic on the inner edge! Result? Mastic everywhere. Temper is rising and there are kids about so I had to go into the computer and learn three Norwegian swearwords before I can complete the job. Now that I can swear freely, I start to make a little headway although I am getting odd looks from the neighbours!
Once the seal is in, I stapled all around to make sure it stays there. Then I have to start cleaning all the mastic that got stuck to places that it shouldn't have. This takes approximately twice as long as fitting the seal in! I am almost certain that it would have been a breeze if I hadn't put that second - useless - line of mastic in. Cant wait to get another shot at it with one of the other windows.
Bit of a panic now as I can't find the plastic insert that goes into the seal to hide the staples. Bit more Norwegian and then I find it in the garage where someone else must have put it. Buggers! Now I can fit it, but in cleaning off the excess mastic I removed the pencil marks which show where the screwholes should be. So I line up the join in the insert with the join in the seal. Err, no. Mis-matched catches...
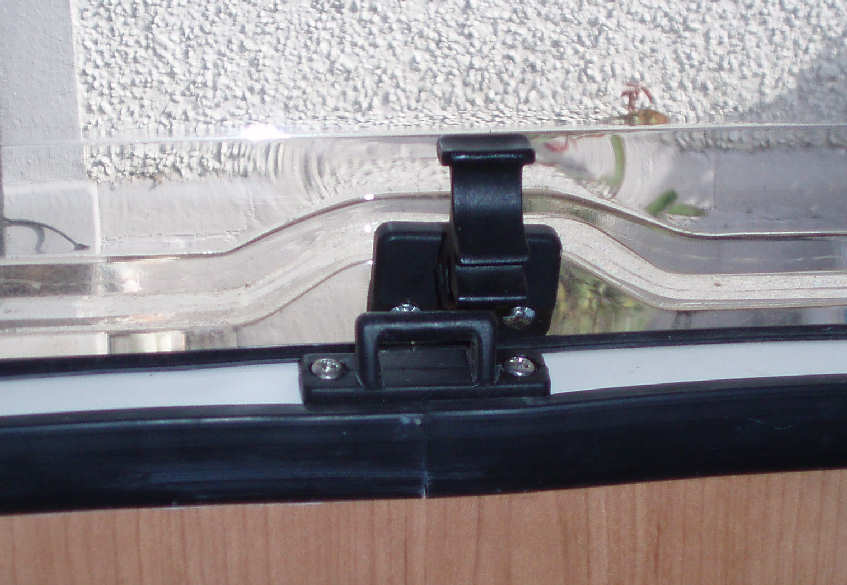
So I dig it back out again, mark the catches and re-fit the insert. Da-Da....a fitted window. Easy when you know how.
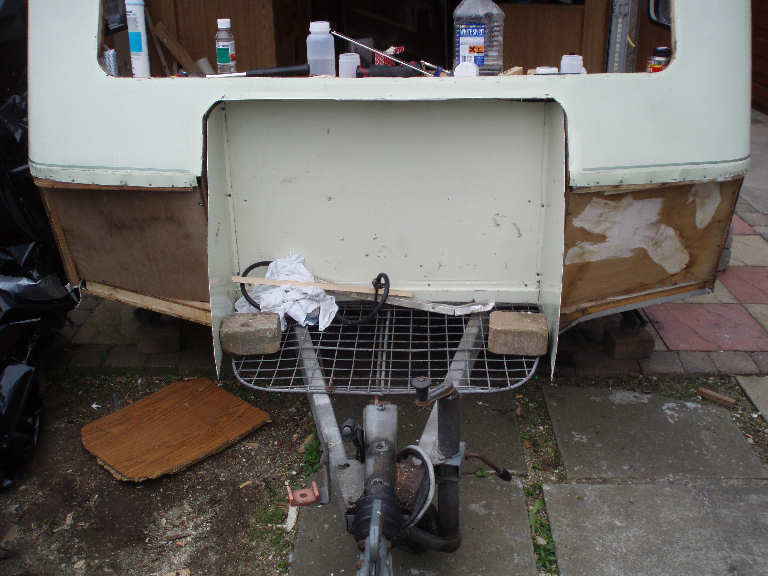
A rather easier task was fitting the sides back in to the gas bottle storage compartment. Bead of mastic around the edges and some self-tappers to hold it in place.
And thats where I am up to. Next thing is the fibre glass front and then the window. But thats a job for another day.
| Back to the start | Back a page | Bib and window |